Autoflowering Cultivation Indoor Guide
Autoflowering Cultivation Indoor Guide


Autoflowering plants are simply brilliant for indoor cultivation, and here’s why. Unlike traditional photoperiod plants that depend on changes between light and dark phases, autoflowering plants bloom automatically according to a fixed schedule, regardless of how much light they receive. This means less effort and more flexibility for you.
These little powerhouses are not only easy to care for but also incredibly fast. From germination to harvest, it often takes just 8 to 10 weeks. That makes them perfect for anyone who wants to see results quickly. In addition, autoflowering plants are robust and resistant to many common pests and diseases, making indoor cultivation even easier.
Another major advantage is their compact size. Autoflowering plants generally stay smaller and bushier, making them ideal for limited grow spaces or discreet grow rooms. You don’t need a large area to achieve a decent harvest.
Thanks to their genetic diversity, autoflowering varieties offer a wide range of flavors and effects. Whether you’re a fan of fruity, earthy, or spicy notes, there’s always an autoflowering variety to suit your taste.
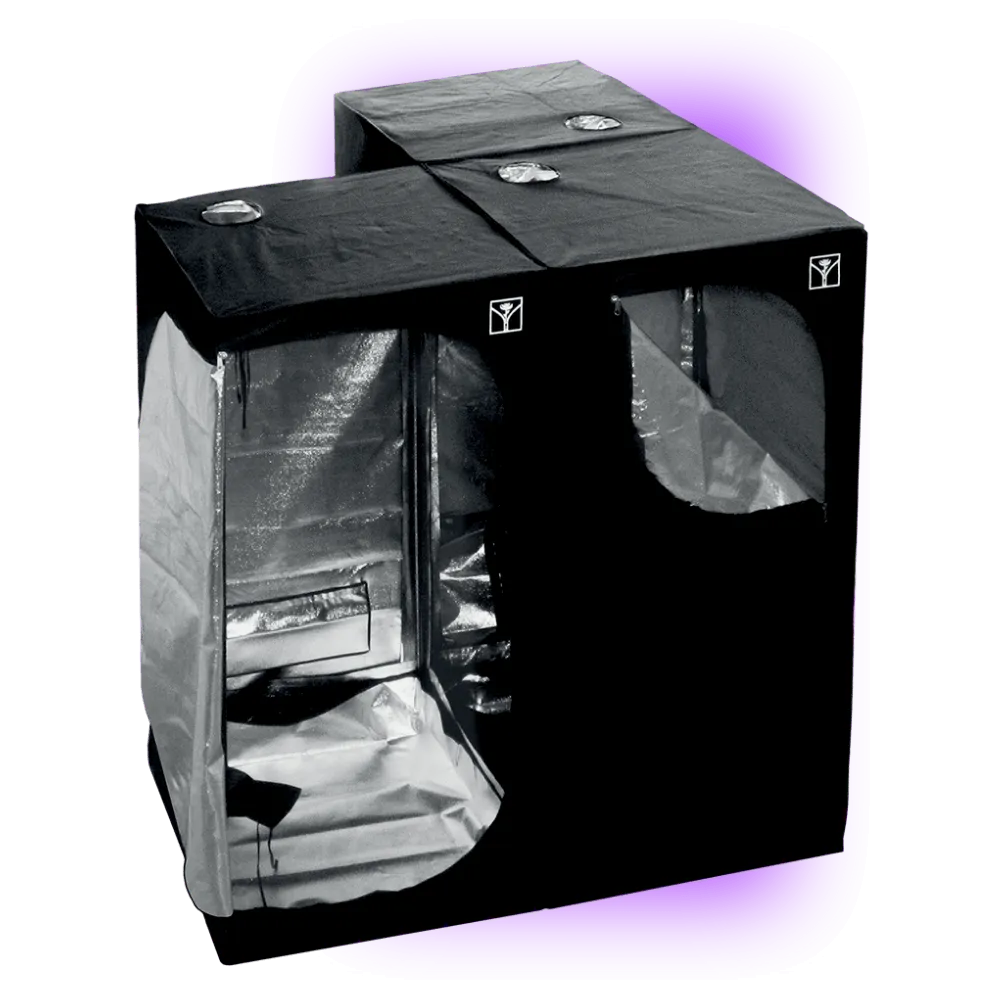
Before you start growing autoflowering plants indoors, proper preparation of the grow space is essential. This begins with choosing the right light sources. LED lamps are the top choice here, as they are energy-efficient and provide the optimal light spectrum. Autoflowering plants need at least 18 hours of light per day, since they do not depend on a specific light-dark cycle.
Good ventilation is also important to prevent mold and disease. Install fans to ensure constant air movement, which prevents stagnant air and strengthens the plants. The temperature in the grow room should be between 21-26°C during the day and 15-20°C at night. During the vegetative phase, humidity should be around 60%, and during the flowering phase, between 40-50%.
Nutrient requirements are specific: at first, the plants need a nitrogen-rich fertilizer, and later more phosphorus and potassium. Over-fertilizing can cause nutrient burn, so it is important to stick to the recommended dosages. Observe your plants closely to identify their needs.
Regular, moderate watering is key. Autoflowering plants prefer the soil to dry out slightly between waterings. Overwatering can quickly lead to root rot, so it is better to water less frequently but thoroughly.

Proper care is crucial for the success of your indoor autoflowering grow. Here are the most important tips at a glance:
1. Watering: Regular, moderate watering is key. Allow the soil to dry out slightly between waterings to prevent root rot.
2. Nutrient supply: Use a nitrogen-rich fertilizer at the beginning and switch to more phosphorus and potassium during the flowering phase. Be careful not to over-fertilize.
3. Temperature and humidity: Keep daytime temperatures between 21-26°C and nighttime temperatures between 15-20°C. Humidity should be around 60% during the vegetative phase and 40-50% during the flowering phase.
4. Light sources: LED lamps are ideal because they are energy-efficient and provide the optimal light spectrum. Autoflowering plants need at least 18 hours of light per day.
With these care tips, you will create optimal conditions for your autoflowering plants and lay the foundation for a successful harvest. Good luck with your indoor autoflowering grow!

Understanding the different growth stages of your autoflowering plants is essential for a successful harvest. Here is an overview of each stage and what you should keep in mind:
1. Germination: Germination is the first step. Place the seeds in moist paper towels or directly in soil. Make sure they receive enough moisture and warmth (about 20-25°C) so they sprout quickly.
2. Seedling Stage: Once the seeds have germinated, the seedlings develop. This stage lasts about 2-3 weeks. Keep the temperature between 21-26°C and humidity around 60%. Use a gentle grow light, such as LED lamps, to support the seedlings.
3. Vegetative Stage: During this stage, the plant grows vigorously and develops leaves and stems. This phase lasts about 3-4 weeks. Autoflowering plants do not require a specific light-dark cycle, but providing 18-24 hours of light per day promotes growth. Keep humidity at about 50-60% and temperature between 21-26°C.
4. Flowering Stage: The flowering stage begins about 4-5 weeks after germination and continues until harvest. Lower the humidity to 40-50% to prevent mold. The temperature should remain at 21-26°C. During this stage, phosphorus and potassium are especially important for nutrient supply.
5. Harvest: After 8-10 weeks, the plants are ready for harvest. Watch the development of the trichomes (resin glands) and harvest the plants when most trichomes are milky white.
The proper harvesting and post-processing of your autoflowering plants is crucial for the quality and potency of your yield. Here is an overview of the most important steps:
1. Harvest Timing: After about 8-10 weeks, the plants are ready to be harvested. Pay attention to the development of the trichomes (resin glands) on the Flowers. The ideal time to harvest is when most trichomes are milky white and some are amber. This ensures that the cannabinoids and terpenes are optimally developed.
2. Harvest Method: Carefully cut the plant and remove the large fan leaves. It is advisable to hang the plant in a well-ventilated room at around 20-24°C and a humidity of 45-55% to dry. This process can take 7-10 days.
3. Drying: Drying is a critical process. Hang the plants upside down and ensure good air circulation to prevent mold. After drying, the Flowers should feel crisp, but the inner stems should still be slightly flexible.
4. Trimming: After drying, the Flowers need to be trimmed. Remove the remaining leaves to improve the quality and appearance of the Flowers. This can be done either wet or dry, with the dry method being preferred to protect the resin glands.
5. Curing: Curing enhances the flavor and potency of the Flowers. Store the trimmed Flowers in airtight jars at a temperature of about 20°C and a humidity of 55-65%. Open the jars daily for about 15 minutes during the first few weeks to let in fresh air and allow excess moisture to escape. This process should last at least 2-4 weeks to achieve optimal results.
LED lamps are the best choice because they are energy-efficient and provide the optimal light spectrum for plant growth. Autoflowering plants require at least 18 hours of light per day, as they do not depend on a specific light-dark cycle. LED lamps have the advantage of producing less heat, which reduces the risk of heat damage. They are also durable and can be used over many growth cycles. Additionally, they allow you to adjust the light spectrum to meet the specific needs of the plants during different growth stages.
Regular, moderate watering is important. Autoflowering plants prefer when the soil dries out slightly between waterings. Overwatering can quickly lead to root rot, so it is better to water less frequently but more thoroughly. A good indicator that it is time to water is the weight of the pot. If the pot feels light, it is time to water. Make sure the soil is well-drained to prevent waterlogging. The amount and frequency of watering can vary depending on the size of the pot, the type of growing medium, and the specific environmental conditions.
Autoflowering plants have specific nutrient requirements. At the start of their growth phase, they need a nitrogen-rich fertilizer to promote healthy vegetative growth. During the flowering phase, phosphorus and potassium are especially important to ensure abundant flowering. Over-fertilization can cause nutrient burn, so it is important to follow the recommended dosages on the fertilizer packaging. Monitor your plants closely to identify their needs and make timely adjustments. In addition to the main nutrients, a balanced supply of micronutrients such as calcium, magnesium, and iron is also important for the health of the plants.
The temperature in the grow room should be between 21-26°C during the day and 15-20°C at night. Autoflowering plants prefer a consistent ambient temperature that minimizes stress and promotes growth. During the vegetative phase, humidity should be around 60% to support plant development. In the flowering phase, it is important to lower humidity to 40-50% to prevent mold formation. Excessive humidity can increase the risk of mold and mildew, while humidity that is too low can cause the plants to dry out. Use hygrometers and thermometers to continuously monitor the conditions in your grow room.
The ideal time to harvest is when most of the trichomes (resin glands) are milky white and some are amber. This ensures that the cannabinoids and terpenes are optimally developed. You can closely examine the trichomes with a magnifying glass or a microscope. If they are mostly clear, the plant is not yet mature. When they are milky white, the THC content is at its highest. Amber trichomes indicate a higher CBN content, which tends to have more calming effects. Observing the trichomes allows for a precise determination of the optimal harvest time, depending on the desired effects.
The ideal time to harvest is when most of the trichomes (resin glands) are milky white and some are amber. This ensures that the plants are hung upside down in a well-ventilated room at about 20-24°C and a humidity level of 45-55%. Drying takes 7-10 days. After drying, the Flowers should be trimmed and cured in airtight jars at around 20°C and a humidity of 55-65% for at least 2-4 weeks. Curing improves the flavor and potency of the Flowers. Open the jars daily for about 15 minutes during the first weeks to let in fresh air and allow excess moisture to escape. This prevents mold and promotes the development of aromas and active compounds. The cannabinoids and terpenes are optimally developed. The trichomes can be closely examined with a magnifying glass or microscope. If they are mostly clear, the plant is not yet mature. When they are milky white, the THC content is at its highest. Amber trichomes indicate a higher CBN content, which has a more calming effect. Observing the trichomes allows for precise determination of the optimal harvest time, depending on the desired effects.